
I was given the task to attend a workshop and In a group create my own three books, each with a different type of binding.
During the workshop we created books with a perfect bound spine, Concertina, and thread held.
Each type of spine had a very different method of preparation and design. The first book spine, we created by collecting a number of different pages together and using needle and thread to carefully stitch together the pages along with a colored cover. The process was a little tricky because, as I was trying to force the needle through the center of the pages to create the spine, i also had to keep the book form intact, so not to ruin the final design, or overall look of the book.


The second book we created was with the perfect bound spine, this was probably the most difficult out of all three. Using PVA glue and crosshatch material against a large number of pages we pushed the glue against the spine of pages harshly, so that the glue would ever so slightly stick all of the pages together. After around ten minutes of this, the book was left to try inside a wooden clamp, to keep the pages intact and to let the glue dry and keep the pages together. After a 30 minute wait the glue had dried and the pages were stuck firmly stuck together. This then allowed us to add a coloured covering for the front and back, and a thin strip of coloured leather to cover the spine,to give the book a more appealing look when finished.


The last spine design was the concertina, which really is a spineless book, but it is the structure of the pages which make the spine. Taking a certain number of pages, each page was folded and placed against each other in a zigzag style pattern. Then using PVA the certain pages were stuck together to create an unfolding array of pages. The pages were left to try, and after this the we could then add a hard front and back cover. Using very thick cloth material, we glued this to very thick board whicg just over matched the size of the unfolding pages. after the front and back covers had dried, these were then stuck to outside of the first and last page and then firmly pressed together with a wooden clamp.

.jpg)

I really enjoyed the entire process of creating my own books. I really like the professional feel and look each book has, and the materials and instruments I used the make them.
After making my books and taking them away with me, I was then given the task to attend a photography workshop to experiment with different lighting and to eventually use this to take multiple photos of the my books, at different angles to experiment and see how lighting works with photography.
To start off the induction we were taken through a short intro into which settings on the camera would best suit our purpose. We were given the chance to around the studio and out around into other areas to refresh our photography skills. Afterwards we came back to the initial studio to begin setting up a background and lighting, ready to take our photos. As a group we were split into partners and began working on our photos and playing around with lighting until we were happy with what we had captured
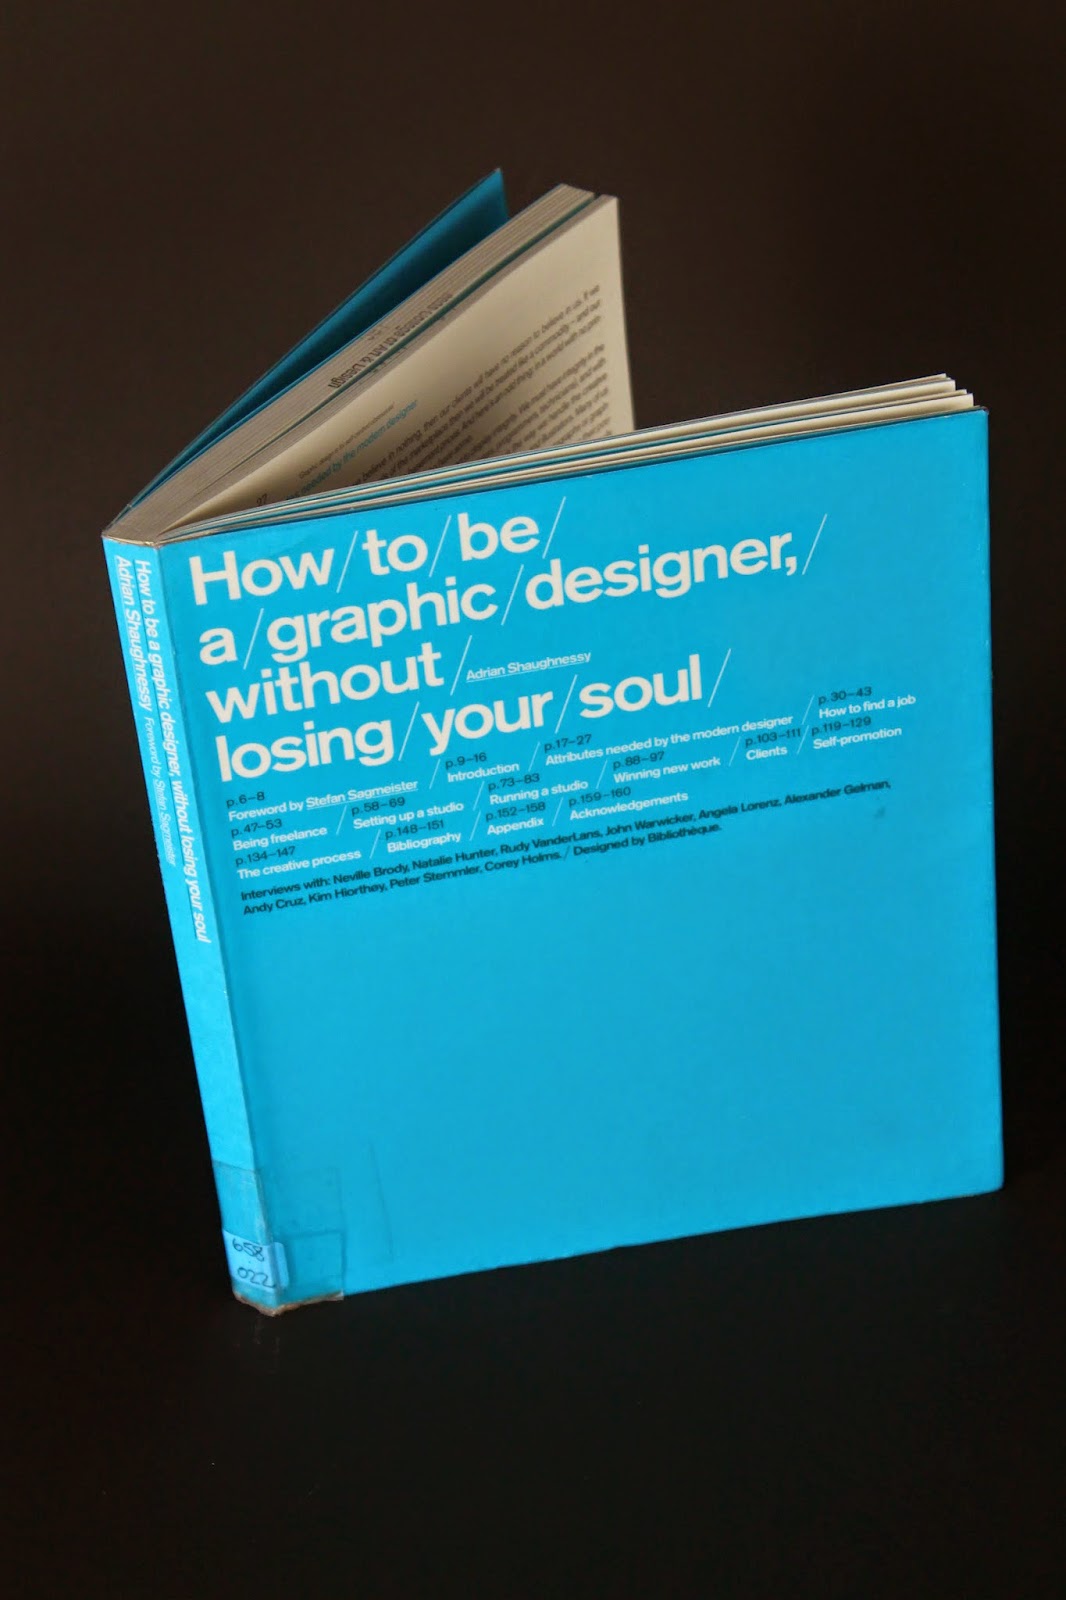
Below are my final photo's.


The purpose of the entire process was to learn about the preparation and design of book making and different spine deigns. Then using photography on the books to enhance my skills and knowledge about photography and lighting.
No comments:
Post a Comment